How to Install and Configure a Smart Doorbell: A Comprehensive Guide
In our whirlwind world, securing our homes is now more crucial than ever. Enter smart home devices, the modern champions of safety and convenience. Smart doorbells are gaining popularity, transforming how we protect our abodes. These gadgets change everything. They offer real-time video streaming, motion detection, and two-way audio. They’re redefining how we keep an eye on our doorsteps. This all-in-one guide, updated in October 2023, shows you how to install and set up a smart doorbell. Let’s ensure you unlock its full potential for seamless home entry monitoring!
Installing a smart doorbell adds a modern touch and gives you control over who visits. This guide gives clear steps, helpful tips, and expert advice for easy installation. It’s perfect for DIY beginners. Whether you’re replacing an old doorbell or starting fresh, you’ll find everything you need here.
Pro Tip: Make sure your doorbell has a strong Wi-Fi signal. This helps avoid connectivity problems. A weak signal may cause video lag or missed notifications.
Important: Check the app often for firmware updates. This keeps your doorbell running with the latest features and security fixes. Many updates also improve performance and address bugs.
Quick Guide
Before we jump into the steps, here’s a quick checklist for your smart doorbell installation:
- Smart Doorbell Kit: The kit has a doorbell unit, a mounting bracket, screws, and an installation guide. Some kits may also come with optional angle wedges or wire extensions.
- Wi-Fi Connection: A stable internet connection is key for smooth video streaming and notifications. Ensure your router supports the needed bandwidth and frequency, usually 2.4 GHz.
- Smartphone with App: Download the manufacturer’s app for configuration and monitoring. Make sure your phone’s operating system is compatible with the app.
- Drill and Screwdriver: Essential tools for mounting the doorbell securely. A power drill can make the installation process faster and more precise.
- Voltage Tester: To ensure the existing doorbell wiring is compatible. Most smart doorbells work within a specific voltage range, usually 16-24V.
Understanding the Core
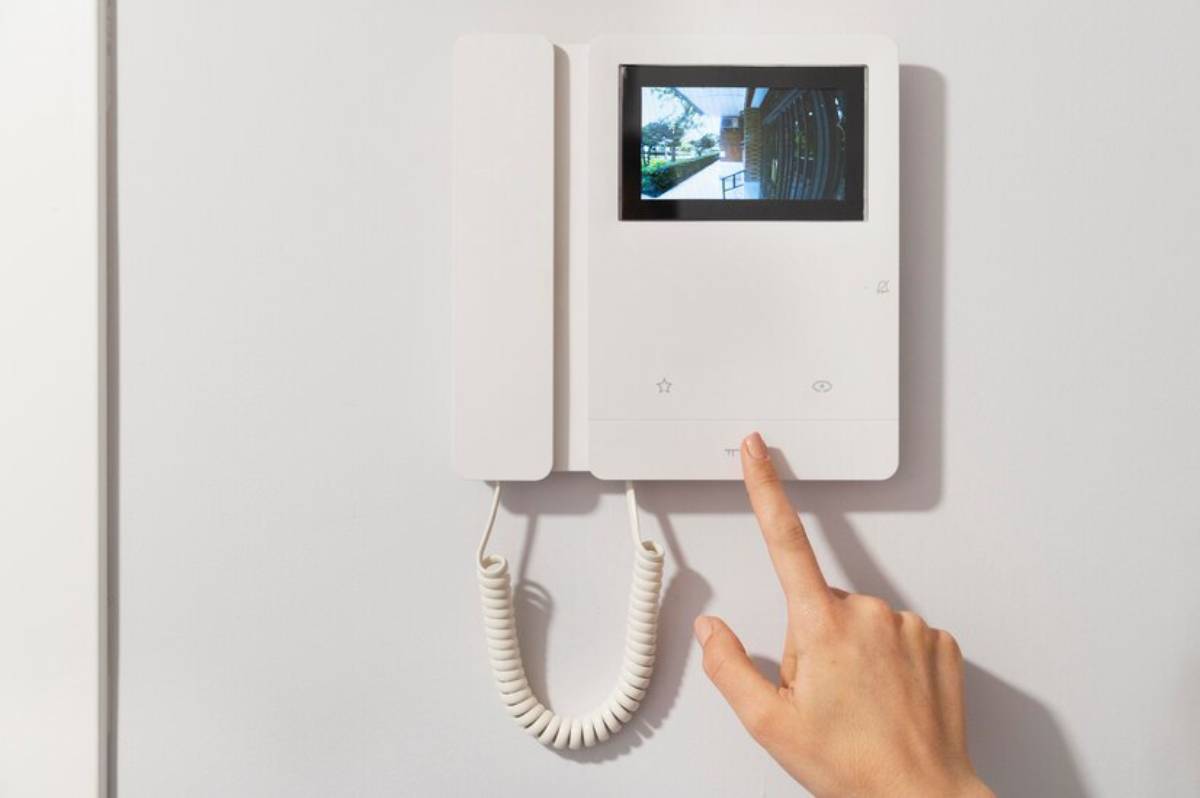
A smart doorbell is an important part of your home security. Before you start the installation, let’s look at what it is and why it’s useful. A smart doorbell is a Wi-Fi-enabled device that replaces your traditional doorbell. It allows you to see, hear, and speak to visitors at your door via a smartphone app, even when you’re not at home. This innovation boosts security and adds convenience. It alerts you to any activity at your doorstep.
Smart doorbells benefit families, travellers, and anyone seeking convenience and safety. They deter intruders and let you know when packages arrive. As cities get denser, it’s crucial to monitor and control home access.
Key Features of a Smart Doorbell

- Video Streaming: You can see a live feed on your doorstep. This lets you monitor visitors as they arrive. High-definition video gives clear images day and night. Many models also have night vision features.
- Motion Detection: Alerts you to any movement detected near your door, enhancing security. You can set up motion zones. This helps cut down false alerts from cars or animals.
- Two-Way Audio: Enables communication with visitors through your smartphone, adding convenience. You can talk to couriers, greet guests, or stop suspicious people without opening the door.
- Cloud Storage: Stores recorded footage for later review, providing peace of mind. Some services offer local storage. Others integrate with cloud services for more flexibility.
Step-by-Step Guide (How to Practise)
Step 1: Choose the Right Location
Decide on the optimal location for your smart doorbell. It should provide a clear view of your doorstep and be within range of your Wi-Fi network. Consider factors like height and angle for maximum coverage. Ideally, the doorbell should be installed about 48 inches above the ground for the best field of view. Keep it away from reflective surfaces and direct sunlight. These can affect the camera’s performance.
Step 2: Turn Off Power
First, turn off the power supply. This will help you avoid any electrical hazards before removing your doorbell. Use a voltage tester to confirm that the power is off. Turning off power at the circuit breaker is recommended for maximum safety. Ensure others in the household are aware to avoid turning it back on during installation.
Step 3: Remove the Existing Doorbell
Carefully unscrew and remove the old doorbell unit. Keep the wires intact as you’ll need them for the new installation. If the wires are short, use extension wires or wire nuts from the smart doorbell kit. Be gentle to avoid damaging the wall or mounting surface.
Step 4: Attach the Mounting Bracket
To install the smart doorbell, use the screws and a drill. First, attach the mounting bracket to the wall in your desired location. Ensure it’s level and secure. Some smart doorbells come with angle mounts. You can use these to adjust the camera’s view and improve visibility.
Step 5: Connect the Wires
Connect the existing doorbell wires to the terminals on the smart doorbell. Follow the manufacturer’s instructions for correct wiring. Secure the connections with wire nuts. Tightly wind the cables. This prevents loose connections that can hurt performance.
Step 6: Mount the Smart Doorbell

Align the smart doorbell with the mounting bracket and secure it in place. Ensure it’s firmly attached to prevent any tampering. Most units click or screw into place. Some also have anti-theft features, like special screws or mounting locks.
Step 7: Restore Power and Test
Turn the power back on and test the doorbell. Check if it rings correctly, and the video feed is accessible via the app. Also, test the two-way audio and motion detection features to ensure full functionality. If issues arise, consult the troubleshooting section of your installation guide.
Step 8: Configure the App
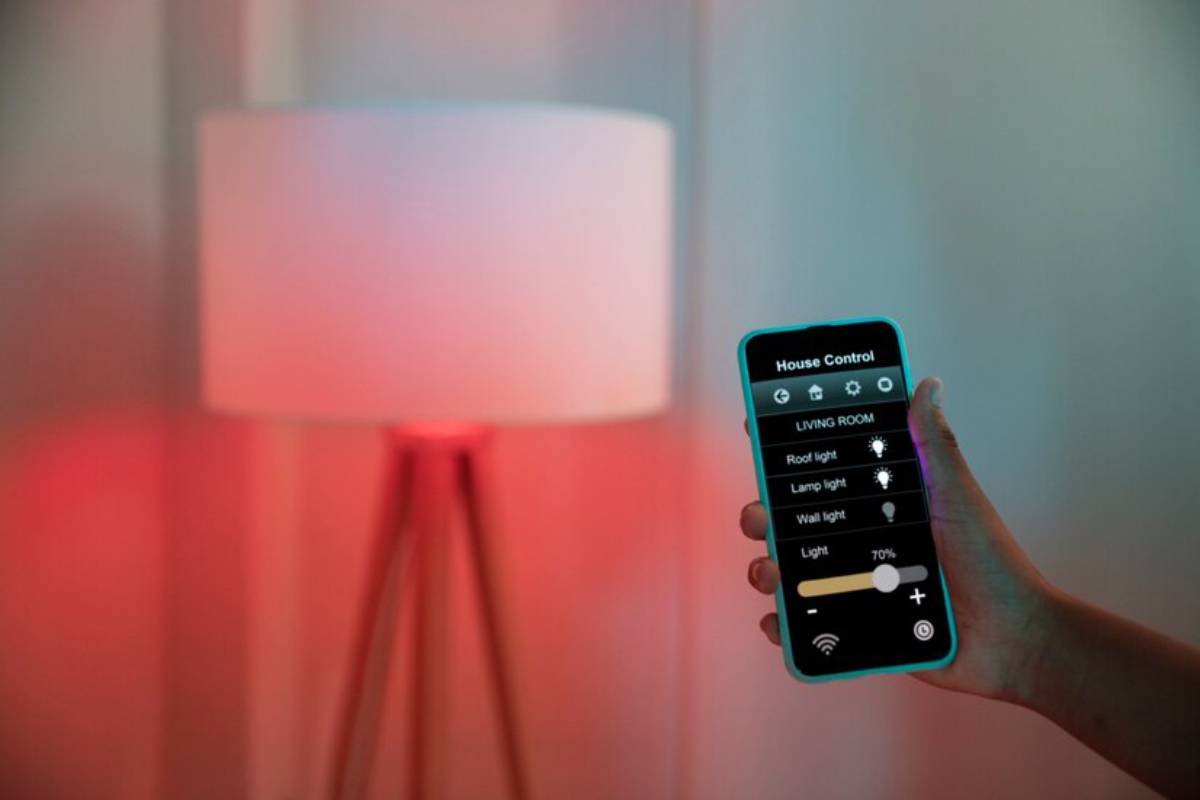
Open the manufacturer’s app on your smartphone. Connect the doorbell to your Wi-Fi using the prompts. Then, set up features like motion detection and notifications. Set up custom alert tones. You can also create user profiles. If you want, integrate it with other smart devices.
Best Practices & Additional Insights
- Regular Maintenance: Clean the camera lens periodically to ensure clear video quality. Dust, fingerprints, and weather can obscure the view.
- Integrate with Other Devices: Connect your smart doorbell to lights and locks. This boosts your home’s security. For example, motion detection can trigger outdoor lighting or automated locks.
- Customise Notifications: Adjust your settings to reduce unwanted alerts. This way, you still get important notifications. Some apps allow for scheduling or AI filtering to reduce false alarms.
FAQs
How do I know if my existing doorbell wiring is compatible?
Most smart doorbells are compatible with standard doorbell wiring. Check the voltage with a tester. Make sure it’s in the range the manufacturer recommends. If your wiring is outdated, consult an electrician for assistance.
Can I install a smart doorbell without existing wiring?
Yes, many smart doorbells offer battery-powered options that don’t require existing wiring. Follow the manufacturer’s instructions for installation. These models usually have rechargeable batteries. They can be attached to almost any surface.
What should I do if my Wi-Fi signal is weak at the doorbell location?
Think about adding a Wi-Fi extender. It can strengthen the signal and help your smart doorbell stay connected. Placing your router closer or upgrading to a mesh network system can also help.
Conclusion: Installing and Configuring a Smart Doorbell: A Comprehensive Guide

Installing and setting up a smart doorbell boosts your home security and convenience. This guide helps you install it smoothly. You’ll enjoy the peace of mind that comes with a protected home. Smart doorbells deter porch pirates, manage deliveries, and let you monitor unexpected visitors. They are a smart investment for any homeowner.
Upgrade your home security now. Get a smart doorbell today and see the future of entry monitoring. For detailed guides and expert advice, visit our website. Explore our library of smart home resources.


